Personalized Iron-on Fabric Onesie Station for a Baby Shower Activity
Posted on January 25 2018

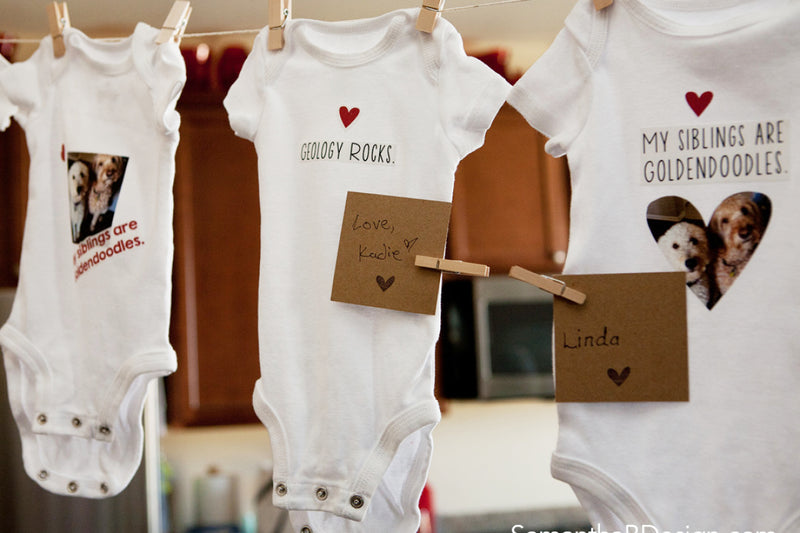
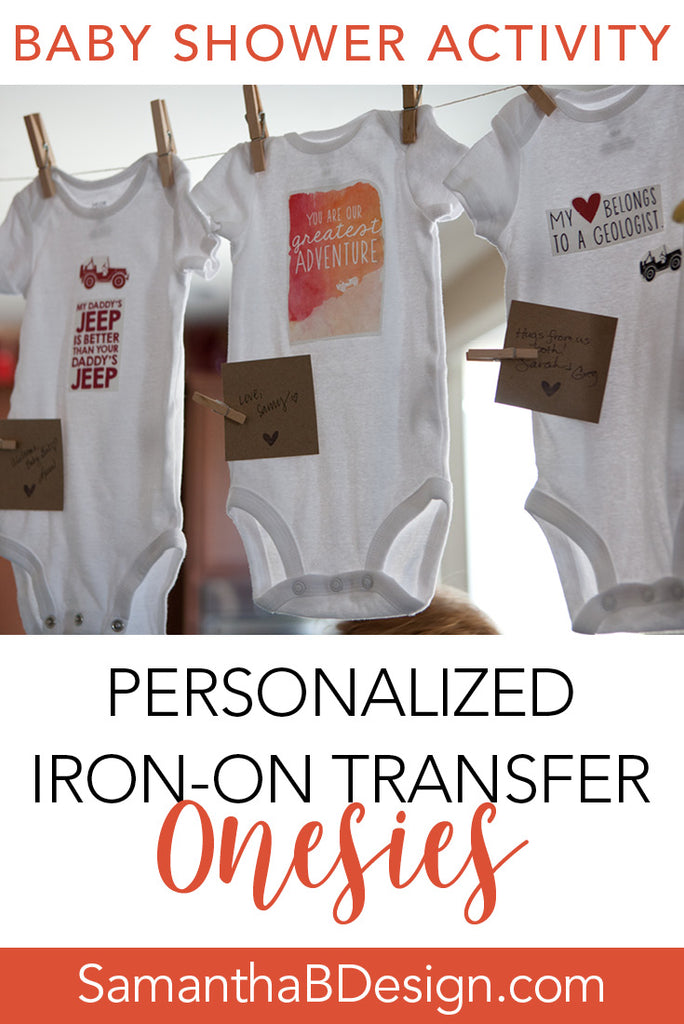
The first baby shower that was thrown for me was lovely but times have certainly changed since that baby shower (this was almost 10 years ago!). We painted burp cloths with puffy paint. They were sweet and personal, however, some of the guests weren’t artistically gifted and I’m guessing the activity wasn’t one of their favorites. I've thrown several baby showers for friends and family since then (and I always love to include this ABC Coloring Book Baby Shower Activity. It makes a great keepsake and guest book, too!) Needless to say, fast forward many years down the road when I threw my sister a baby shower, remembering this personal activity, I choose to create personalized iron-on fabric onesies with sayings and photos specific to my sister and her husband. This simplified the artistic ability needed while still allowing guests to be involved. Also, the onesies had a consistent theme and look since they weren’t created freehand.
I’m a graphic designer by trade so creating the iron-on transfer art was simple. However, if you are just a little tech savvy, you can do this without design programs! PicMonkey.com is perfect for creating some personal text and art to print. There’s tons of font options and graphics available to use right on the website. You can type onto your page and add and resize graphic elements, then move them anywhere on the page. Fit as many graphics as you can onto one sheet to preserve space on the Iron-on Transfer paper. Photos are also a great option for Iron-on transfers! (PicMonkey offers a 7-day free trial and then a low monthly cost if you need more time.)

Once you have a few pages of artwork/text ready to go, you’ll print them using an InkJet printer onto Iron-on Transfer Paper OR Printable Fabric. Then you’ll want to cut out each graphic element separately. I cut them out before the shower so that they were ready to go for our guests. (PLEASE NOTE: In my examples, I used PRINTABLE FABRIC that does not need the text or images to be reversed (made it easier for guests to see what they were doing. Iron-on TRANSFER PAPER is cheaper but requires you to reverse your image and iron on upside down, then peel the transfer layer off. Reversing the image using PicMonkey.com is possible with the Rotate tool and easy to do once you have your graphics read to go. Also, If you want to use darker clothing, make sure you purchase the Iron-on Transfer paper especially made for dark fabrics.)

So here’s the basic step-by-step and materials:
Materials:
-
Multi-pack of onesies (various sizes from about 0-3 month to 18 month)
-
Printable Fabric Paper or Iron-on Transfer Paper for Inkjet Printers
-
Iron (might want more than one depending on your party size)
-
Hard ironing surface (Ironing board is too padded)
-
Large cotton pillow case (to use over hard surface when ironing)
-
Scissors
Optional:
-
Clothesline and Clothespins to hang onesies
-
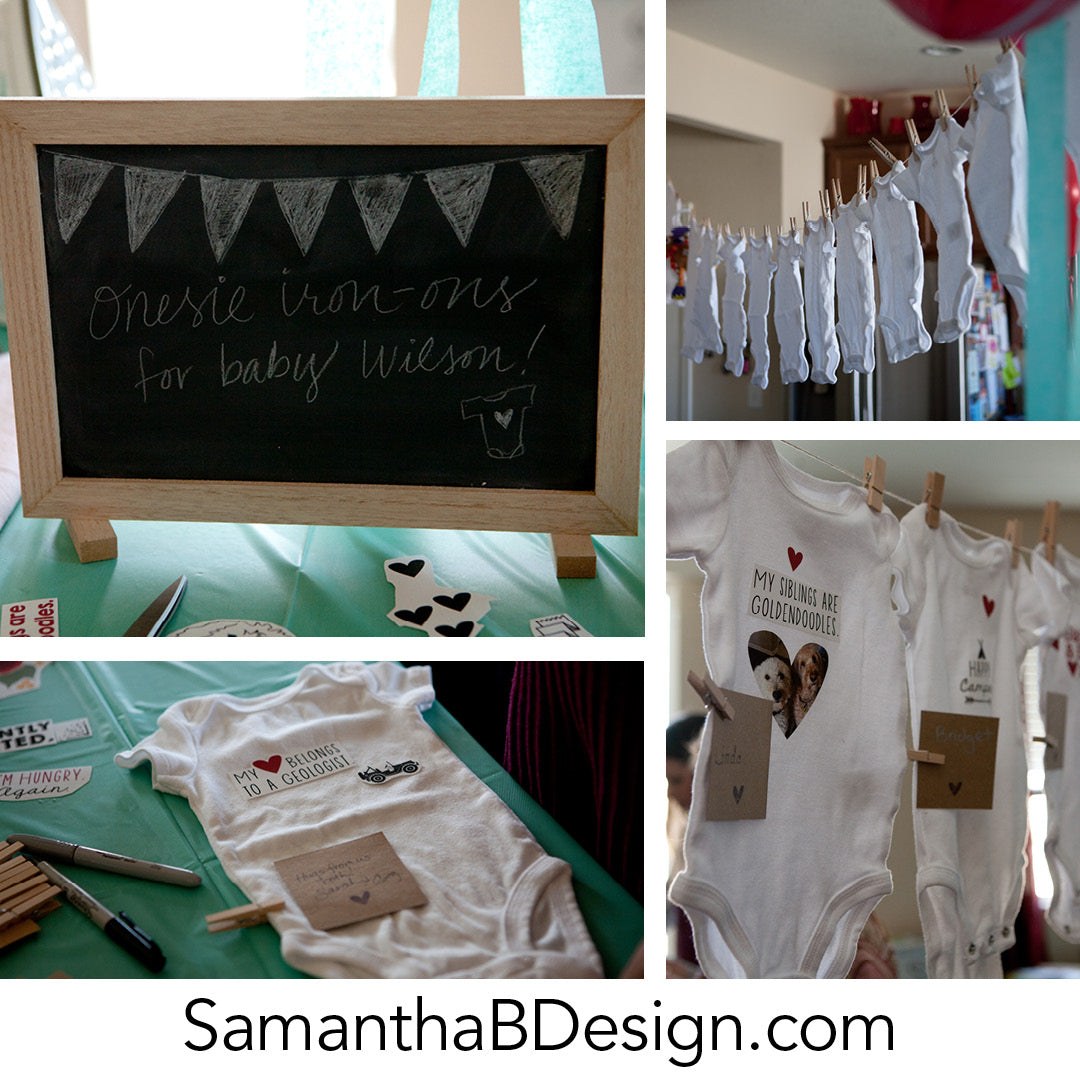
Sign (to introduce/explain the process to guests)
-
Name cards and clothespins (for guests to label their completed onesie with their name)

Before the Shower:
-
Create the artwork on your computer using PicMonkey.com or another design software.
-
Print a test print of your artwork before printing onto Printable Fabric or Iron-on Transfer Paper.
-
Print your completed pages (make sure you fill the page before printing!)
-
Trim carefully around the artwork. (Remember that even the white/negative space will transfer to the onesie so the way you cut is important!)
-
Pre-wash the onesies.
-
Optional: Set up clothesline to display onesies (a great way to display completed onesies that also doubles as party decor!)

At the Shower:
-
Preheat iron on cotton setting for 5 minutes. (Make sure there is no water in iron and steam setting is off.)
-
Guests will choose a number of design elements to put them together onto a onesie (don't forget the back!)
-
Once they have their layout decided, simply use an iron to carefully iron the design on. (Make sure to follow the instructions on the package.)
-
Guests can either label their onesie with a sharpie or clip a paper with a note and signature to it.
-
Have guests hang them back up so everyone can see!

Need some ideas on what to put on the onesies? Make a personal spin off of some of these quotes:
- I <heart> Grandma and Grandpa
- I’m Grandpa’s Sweet <heart>.
- Family Pet names
- My siblings are Golden Doodles.
- Call Grandma STAT.
- Nobody puts Baby in a corner.
-
Parents career/job:
My <heart> belongs to a Geologist. - I’m acute baby.
- My cousins think I’m the best!
- Happy Camper.
- You are our greatest adventure.
- Worth the Wait.
- My Daddy’s Jeep is cooler than your Daddy’s Jeep.
- I'm hungry. Again.
Need More Baby Shower Ideas? See these posts:

ABC Coloring Book Template for a Baby Shower Activity
Please note: Some affiliate links were used in this post to recommend products that I used. I appreciate your interest in my post!

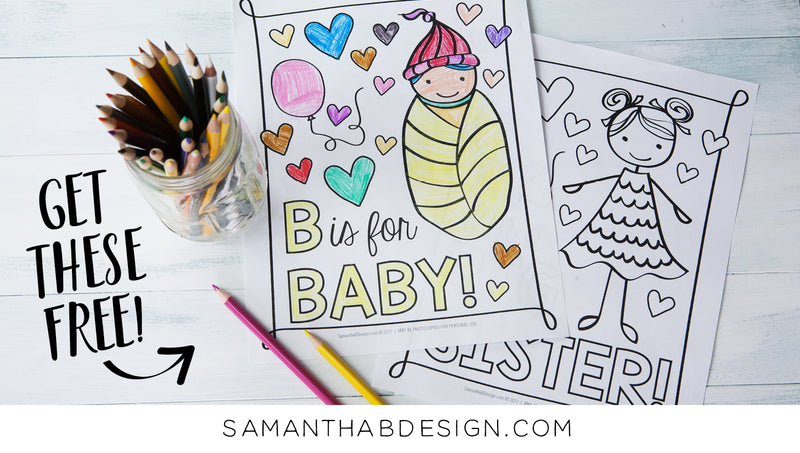
P.S. When you sign up for our email list, you get these FREE COLORING SHEETS along with access to our free printable library! Great for a Baby Shower or just a Children’s coloring activity! (Coloring Sheets include: “I’m a Big Sister,” “I’m a Big Brother,” and “B is for Baby,” illustrated by yours truly!)

0 comments